Large Hatchery Cone with Stand plus 1.75 oz. Brine Shrimp Egg
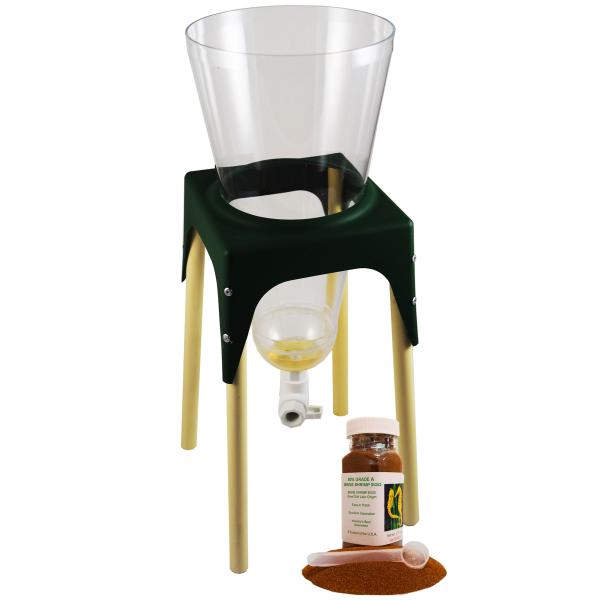
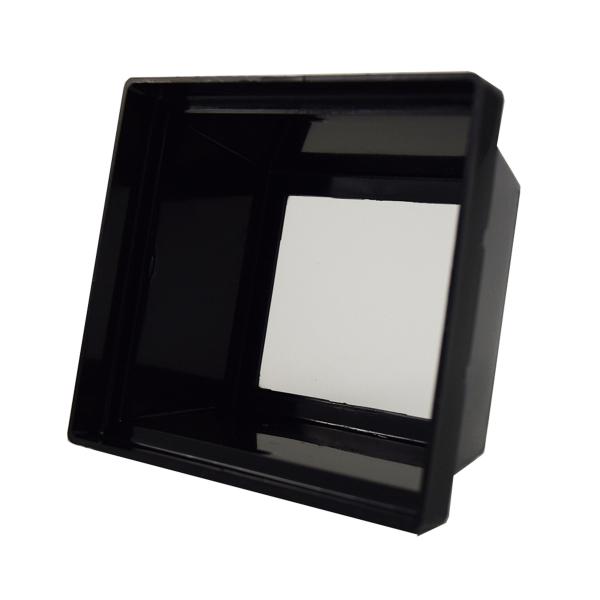
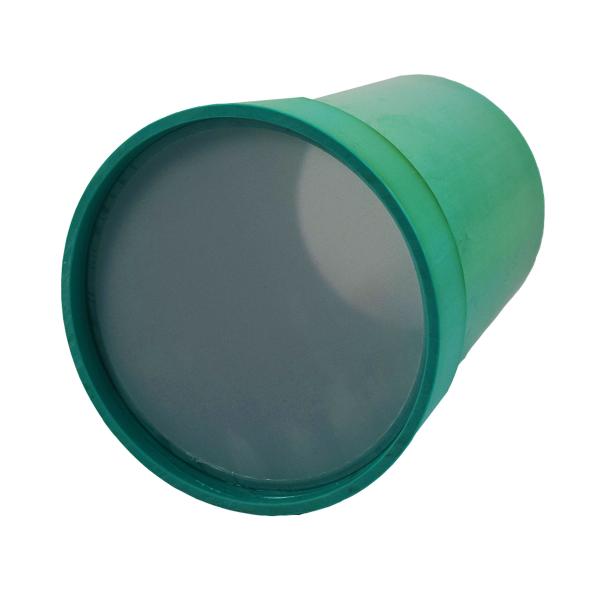
BRINE SHRIMP HATCHERY, Two-Liter capacity is also an ideal culture vessel for rotifers or microalgae. Conical clear acrylic design aids in suspension of eggs for maximum hatching efficiency. Includes sturdy four-legged stand, rigid tubing, flexible air tubing, collection cup , and splash lid. Plastic drain valve allows for easy harvesting of rotifers or micro-algae.
BONUS: Includes 1.75 ounces Grade A Brine Shrimp Eggs. Equivalent to 24 2-gram hatches. Guaranteed 80% hatch rate.
Hatching Procedure
The following steps will achieve optimum brine shrimp hatch rates.
-
pH:
Proper pH is important in hatching brine shrimp. A starting pH of 8.0 or higher is recommended. In areas where the water pH is below 7, Epson salt or sodium bicarbonate can be added at the rate of 1/2 teaspoon per quart of solution to buffer the hatching solution. -
Temperature:
Optimum water temperature for a 24-hour complete hatch is 80-82°F or 26-28°C. Lowering the temperature would result in a longer hatching time. Do not exceed 30°C. -
Light:
Illumination is necessary to trigger the hatching mechanism within the embryo during the first few hours of incubation. Maintaining a light source during the entire incubation period is recommended to obtain optimum hatch results and for temperature control. -
Aeration:
Constant aeration is necessary to keep cysts in suspension and to provide sufficient oxygen levels for the cysts to hatch. A minimum of 3 parts per million dissolved oxygen during the incubation is recommended. Strong aeration should not damage or hurt the brine shrimp cysts or nauplii. -
Stocking Density:
1 gram per liter or quart or approximately 1/2 level teaspoon of cysts per quart is recommended. A higher stocking density will result in a lower hatch percentage. -
Hatching Cone:
Flat-bottom hatching vessels should be avoided. Cone or "V" bottomed containers are best to insure that the cysts remain in suspension during hatching. Be sure to thoroughly wash the hatching cone with a light chlorine solution, rinse, and allow to air-dry between uses. Avoid soap. Soap will leave a slight residue which will foam from aeration during hatching and leave cysts stranded above the water level. -
Incubation Period:
Generally, the optimum incubation time is 24 hours. Egg which has been properly stored for more than 2-3 months may require additional incubation time — up to 30-36 hours. Oftentimes, eggs will hatch in as few as 18 hours. If a smaller size nauplii (Instar I) is desired, a harvest time of 18 hours is recommended.
Helpful Hint:
Brine shrimp egg is sometimes very buoyant. In order to maximize the hatching percentage, it is sometimes helpful to swirl the water inside the hatching container with your finger once or twice at intervals in the first 4 to 6 hours of incubation in order to knock down eggs that have been stranded on the side of the container above the water-line. After about 6 hours, the eggs are usually well-hydrated and will stay in the water column.
Email Us
EMAIL UPDATES
To sign up to receive exclusive offers, new product information, or if you just like hearing from us, please enter in your email address and click sign up.


